
Importing photos from a camera to a Mac can be done in different ways. Photos and Image Capture are the two main programs to use.
Photos is the main photo library on Apple devices.
Image Capture is a less known program on Macs that adds to the rich toolset for managing your photos.
What programs manage photos on a Mac?
Photos is a library for storing and editing photos. Import images into the Photos library directly from a phone or other device. The Photos library can be synched using iCloud. iCloud photos are then visible on all of your Apple devices.
Preview – For photos, this program allows marking up, size changes and transformation to different file types. Read our blog post here.
Image Capture – A program used for downloading photos from a camera or other device to a computer. These photos will not be imported into the Photos Library.
Where are photos stored on a Mac?
The Pictures folder is the default location on a Mac for photos. Photos can be stored in any location, but this location is where most will be. These photos can come from many sources.
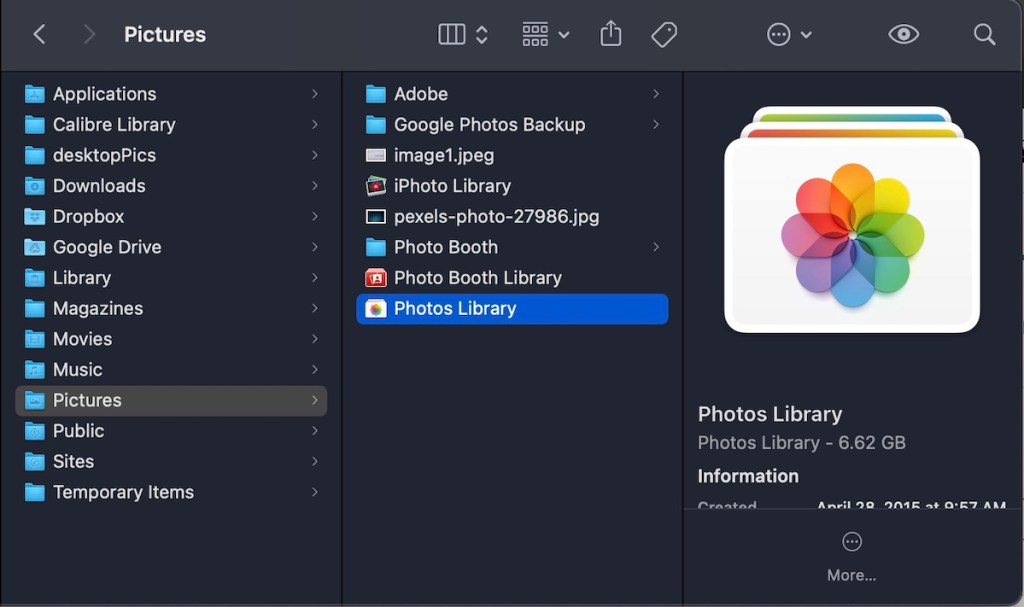
In this image, you can see a Pictures folder.
Pictures contains folders from other image management software like Adobe, Google Photos and Photo Booth.
It contains loose image files; Image1.jpeg and pexels-photo-27986.jpg.
The collection of photos managed by the Photos app is stored in the Photos Library. This library takes 6.62 GB of storage and contains thousands of photos.
Use Photos to Import Photos
Plug a phone or camera into your Macintosh computer, and the application Photos will open automatically.
View all of the photos on the attached device.
Photos can recognize previously imported photos, and then only import new ones.

Imported photos are inserted into the Photos Library. Photos are ordered according to date stamps from the device.

Using Image Capture to Import Photos
Plug a phone, a digital camera, or a scanner into your Macintosh.
Open the application Image Capture.
The photos on the camera/phone/scanner will display in the window. Image names, dates, and other information about the photos will display.

At the bottom, in the Import To: section, choose the location on your Mac for the imported photos.
Select photos and click Download, or click Download All. All photos remain on the original device.
These photos will be ordered by image name.
It’s that easy! If you have more questions, feel free to call us on 781 606 2621. If you have specific questions, or if our terminology isn’t clear, please use our contact form to send us a message. Thank you!